Registration Worksheet is a WebSTAC app that lets you prepare for Registration by creating mock schedules and saving course code info. Find it in WebSTAC under “Courses and Registration” in the menu header.
Hit Features
- Search for courses with an exciting new search interface
- See mock daily schedules
- Keep track of course info for when you register
- Keep track of backup options in case your primary choices are not available when you register
Contents
Change Semester

Here you can switch between worksheets for different semesters. The currently displayed semester corresponds with the worksheet currently displayed on the page.
Search Courses

Here you can search for courses to add to your worksheet. After making a search or after clicking [Advanced Search], you are provided an advanced search interface.
Advanced Search
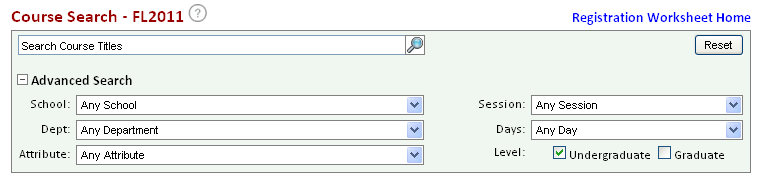
Here you can filter your search results based on selected criteria. Press enter in the search box or click the [search icon] to search. Click [Registration Worksheet Home] to return to your worksheet.
User Actions


Search Results

User Actions
- Click [1st] or [2nd] or to add a course to the registration worksheet.
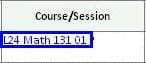
- Click a course code to see more information about the course.
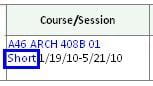
- Click a session name to see more information about that session. ()
Course Selection

You have the option to add courses to your worksheet by typing in their full course numbers (including department, course number, section and subsection, if relevant). If you do not know a course number for a class, you can instead pick classes via the search interface.
You can find course numbers in the Course Listings app or through the search interface. Once you fill out the necessary fields, choose [1st Choice] to add the course to your first choices or [2nd Choice] to add the course to your second choices.
Optional Fields


Messages

When you click [1st Choice] or [2nd Choice] you will either get a confirmation or an error message.
Confirmation message
- If everything went smoothly, it will read, “Course successfully added.”
Error messages
- If no course exists, it will read “Section not added – does not exist.” If you get this message, it’s best to double check that you entered the entire course number correctly and try again.
- If you’ve already added a course as a first or second choice, it will read “Section not added – already exists as a choice.”
Change Session Filter

Here you can filter your current worksheet to only show classes that run for a specific session. Every class falls in one specific session, which dictates the dates it meets during a given semester.
User Actions
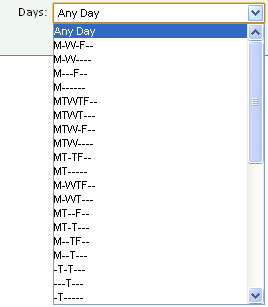
- Click [Any Session] and a list of sessions will drop down
- Select a session and your worksheet will now filter out any classes that do not fall in the selected session.
Caution: If you choose a session filter, courses added via the course search box or the course selection interface that are not in the selected session will be added to your worksheet but hidden. Choose [Any Session] to see all classes for the given worksheet.
First Choices

Organize your first choices and add notes in this section.
User Actions
Click [green down arrow icon] to move the course to the Second Choices section
Click [red x icon] to delete the course in the same row.
Second Choices

Organize your second choices and add notes in this section.
User Actions
- Click [blue up icon] to move the course to the First Choices section
- Click [red x icon] to delete the course in the same row.
Schedule Grid

Here, you see your First Choices split into a weekly timeline.
See the legend below the grid for explanations:


User Actions
Registered Courses
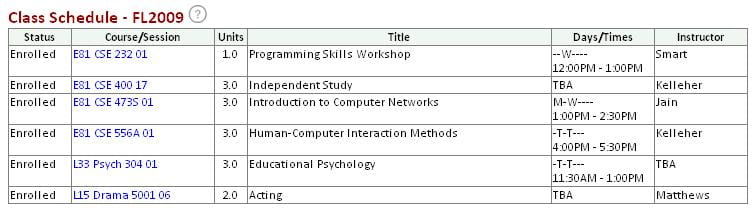
User Actions
User Actions
- Click “Change Semester” and a list will pop up with all semester worksheets
- Choose a semester from the popup and select “Ok”
Advisor Access
Your advisors have access to see your Registration Worksheet. This is helpful to them in preparing for your advising sessions. In many cases, your advisors also have the ability to update your worksheet. This ability is provided in order to facilitate changes during your meeting with your advisor.
User Actions
- Click “Disallow” to remove edit access for your advisors
- Click “Allow” to grant edit access for your your advisors
